
Every organizations has its own brand, color theme and its logos. Business expects to customize their application based on its branding. In this article, we will learn about login page customization.
Pega provides a standard login and logout screens for all applications. These login screen can be customized to a full extent through simple steps.
 Create a ruleset
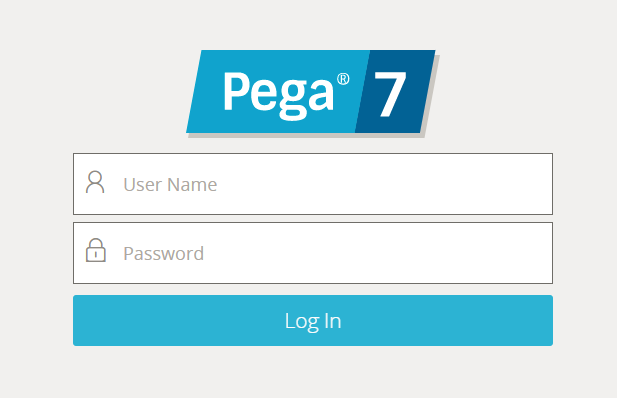
All the guest operators will see the default login screen. Guest operators are the users who have started PRPC but have not yet been authenticated by logging in.
All the necessary UI changes to login screen are required to store in a custom ruleset that should be created. Create a ruleset and version to hold the custom rules for the login screen. Give the ruleset a name that makes it easily identifiable, such as customlogin:01-01-01.
Create a new accessgroup
The system uses the PRPC:Unauthenticated as default access group for guest requestors.
Create an alternate access group for your custom rules for the login screen, and then instruct the system to use them instead of the defaults for guest requestors
Create a new access group for unauthenticated users.
Create a ruleset
All the guest operators will see the default login screen. Guest operators are the users who have started PRPC but have not yet been authenticated by logging in.
All the necessary UI changes to login screen are required to store in a custom ruleset that should be created. Create a ruleset and version to hold the custom rules for the login screen. Give the ruleset a name that makes it easily identifiable, such as customlogin:01-01-01.
Create a new accessgroup
The system uses the PRPC:Unauthenticated as default access group for guest requestors.
Create an alternate access group for your custom rules for the login screen, and then instruct the system to use them instead of the defaults for guest requestors
Create a new access group for unauthenticated users.
Enter "PegaRULES" as the application name
Enter the current ruleset version
Add the guest access role
Add customlogin:01-01 as a production ruleset to the new access group and to your own current access group (so you can save rules into it).
Modify and save rules
Override the HTML rule
"web-login", to add our own changes as per the requirement.
This HTML rule defines the login page, specifying (among other things) the images to use.Copy this rule into your ruleset without changing the name.
Update the requestor type
Requestor type data instances define the types of requestors that can access Pega 7, such as a browser session, an external application, or an internal background process. The BROWSER Requestor Type establishes what is available to someone trying to access Pega 7 in the normal way through the browser.
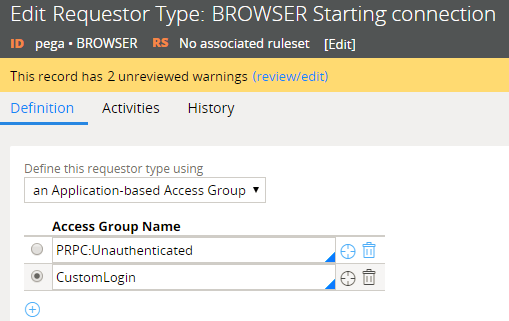 In Records Explorer, select SysAdmin > Requestor Type.
Select the Requestor Type "BROWSER" for your system name.
Add your new access group to the Access Groups list and select the radio button next to it.
Save the Requestor Type.
In Records Explorer, select SysAdmin > Requestor Type.
Select the Requestor Type "BROWSER" for your system name.
Add your new access group to the Access Groups list and select the radio button next to it.
Save the Requestor Type.
If you like Pega Guide and would like to contribute, you can mail your to pegaguide@gmail.com. See your article appearing on the Pega Guide main page and help other Geeks.
Please write comments if you find anything incorrect, or you want to share more information about the topic discussed above.
You may also want to see: